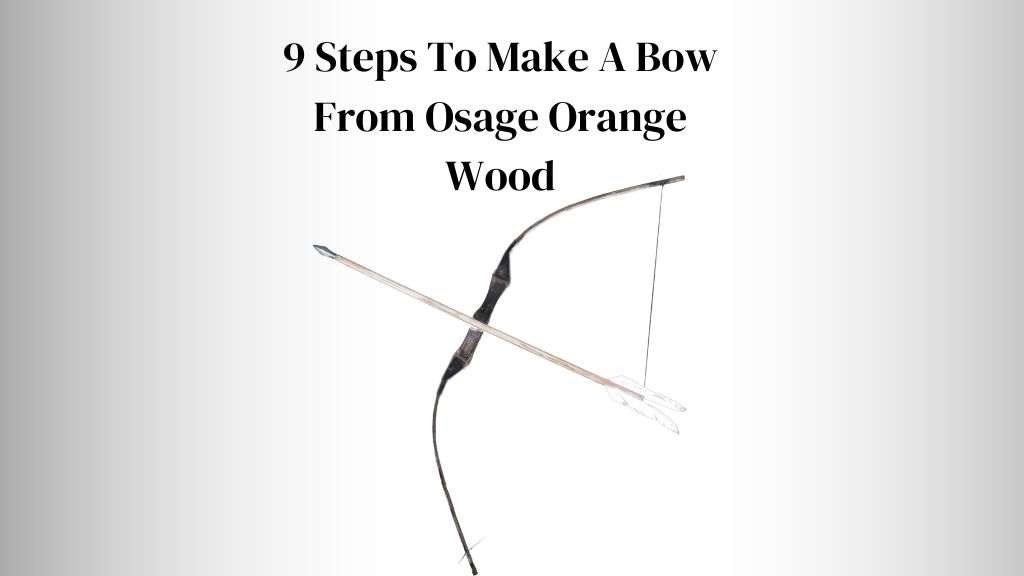
If you are a beginner or just starting with woodworking, making a bow from Osage Orange Wood can be challenging but still could be just the thing for you. In this article, we will guide you through how to make a bow from osage orange wood.
Here you’ll learn everything from finding & selecting the right wood to using the proper tools & techniques to create a functional and beautiful bow. Before that, you must be well equipped with the right tools & gears to work on osage orange wood to create a bow.
Before I tell you what tools you need or how to make a bow from Osage Orangewood, let’s take a quick look at the benefits of making a bow from Osage Orangewood.
Why Make a Bow from Osage Orange Wood?

Osage orange trees are getting more & more popular for their dense, hard, and strong wood that is said to be resilient, durable, and carry unique properties. If you want to make a bow out of Osage Orangewood, you can achieve great speed, accuracy, and power.
In our history, we can trace the usage of Osage Orangewood in making bows, fences, baskets, and more. The wood has been used for centuries by Native American tribes and later by European settlers for bow-making.
Also, you should note that the Osage Orange Wood bow is considered a traditional American longbow, and its popularity has continued to this day. Since making a bow from scratch is challenging but rewarding, you’ll have to put in patience, skill, and dedication.
If you like to create a customized and unique piece that fits your body & style, making a bow using osage orange trees wood can be very helpful.
Also, bow-making is a great way to connect with nature and develop woodworking & archery skills. Additionally, the satisfaction of successfully crafting a functional & beautiful bow is unmatched compared to many woodworking projects.
Related Read: Where To Buy Osage Orange Wood?
How To Make A Bow From Osage Orange Wood

Finding & Selecting the Right Wood
To make a bow from Osage Orange Wood, you must find a suitable tree or obtain the wood from a reliable supplier. The ideal piece of wood that can be made into a bow should be straight, without knots or defects. Also, choose the one with a diameter of at least 3 inches. It should also be harvested during winter when the sap is low.
Preparing the Wood for Bow-Making
Once you have obtained the sturdy wood, you must prepare it properly for bow-making. Firstly you will need to cut the wood to length and then remove its bar and sapwood.
Also, be sure you are drying it in a ventilated area away from direct sunlight slowly & evenly. You must give your wood the proper amount of time so it airs dry for at least one year to effectively remove moisture content. This will also help you prevent warping.
Bow-Making Tools & Materials
If you want to make a bow from Osage Orange Wood, you will need a few essential tools. You should get a drawknife that is sharp & clean, a rasp, a scraper, sandpaper, and a bowstring. However, if you are making an advanced bow, you must invest in additional tools and materials.
You will need things like a bow square, a bow vice, a bow press, & bow-building plans or templates. Depending upon where you are working, you will also have to use a workbench or a sturdy table to work on. I always use a vise or clamps to hold the wood in place while I work on it.
I recommend you experiment with different finishes, such as oil, wax, or varnish, which can protect and enhance your wooden bow. However, it would be best if you took safety precautions & guidelines because Bow-making can be hazardous. While working in the woods and with tools,
you must wear proper gloves on your hand and eye protection to protect you from accidents and debris. Also, it would be best if you always worked in a well-ventilated area free from clutter. Follow proper tool usage & maintenance guidelines to avoid getting accidents & injuries.
Designing Your Bow
Since there are many types of designs to make a bow, it can be unclear for you to choose the right one. If you need clarification, you can start with the longbows, which are very simple to design and make.
However, if you have some experience with woodworking, consider going with the recurve bows that are more complex & require more skill. In the mid-range, you can also consider flat bows, which are nothing else than a combination of longbows and recurve bows.
Thus, flat bows are easier to make. Depending upon what type of bow you want to make, you should always consider your skin level & preferences before choosing a design. It Is important that you also consider your physical ability & preferences, as the length & draw weight of your bow will also depend on it.
Consider having a bow about your height and length, and draw weight should be about your weight. To design, you must choose the right type of bow stave. A bow stave is a piece of wood from which you will make the bow.
You should know that the Osage Orangewood is an excellent choice for getting bow staves because of its flexibility, resilience, and strength. Usually, I like to go with a straight and uniform piece of Osage Orange wood that is at least six feet long & two inches thick. Remove the bark and any knot or branches from the wood before shaping it.
Shaping Your Bow
After you have chosen the right type of design you want to make out of Osage Orangewood, it’s time that you save it properly. It is best to use a bow design template to trace the outline of your bow onto the Osage Orange wood stave.
I prefer a pencil, but you can also use a marker to trace the outline. However, you must ensure the template is centered and aligned with the wood grain. While drawing and shaping your bow, you must use a draw knife or a roughing knife to remove the excess wood from the Osage Orange wood stave.
Thus, follow the outline you traced in and remove wood from the stave’s belly (the side facing the archer) and the back (the side facing away from the archer). Also, it would be best to be mindful not to remove too much wood, as this may weaken your bow.
I often like to use a draw knife or a spokeshave to shape the limbs of my bow. I’ve collected many bows in my workshop because I love woodworking. Returning to the topic, starting at the handle, and working toward the tips is best.
Also, Remove wood from the belly & the back of the limbs to create a tapered shape while keeping the tips of the limbs narrow & flexible. It would be best to use a rasp or sandpaper to smooth out any rough spots.
Tillering Your Bow
Tillering is the process of shaping the bow to ensure it bends evenly when drawn. This is a crucial step in making a bow that works effectively. There are several methods for tillering, including using a tillering tree, a tillering board, or tillering by hand.
However, Each method comes with its advantages & disadvantages. Here, the key will be to take your time & work slowly to ensure that you bend the bow evenly. If you’re new to tillering, it’s important to troubleshoot any problems that arise.
Some common issues beginners often face include uneven bending, twisted limbs, or overly stiff limbs. Don’t worry much because you can address these problems by carefully removing wood from certain areas or applying heat to specific bow areas.
Applying the Finishing Touches
Once you’ve finished tillering your bow, it’s time to apply the finishing touches. Market, varieties of finishes can be used in woodworking, including oil- and water-based finishes.
You can also use other finishes like linseed oil to give protective labor to your bow and help it withstand the elements. It is best if you first start by sanding & smoothing your bow to remove rough spots or imperfections before applying any finishes to it.
Once there are no rough spots on your bow, it’s time to strangle it. It would be best if you used a bowstring specially designed for your bow length & weight. If you don’t know what material to use for the bowstring, consider fast flight or Dacron.
Caring for Your Osage Orange Wood Bow
If you want to make your bow last for many years, too, you must take care of it properly & provide occasional maintenance as well. Firstly, you must choose a dry, cool spot to store your bow.
It must be kept away from direct heat or sunlight to prevent it from developing cracks. If you notice any splits or cracks, make sure to avoid using the bow and first address it immediately to prevent further damage. Also, clean your bow regularly to remove any debris or dirt accumulating on it.
Conclusion
This article has given you in-depth information on ‘how to make a bow from osage orange wood.’ It is important that you not only choose the right type of wood for making a bow but also choose the right type of bowstring according to the design you are preparing to create.
It’s always best to start with the basic longbows and then progress to another complex woodworking or bow-making. If you find this article helpful, then consider sharing it.
Your share will help many people learn about the right procedure for making a bow from Orangewood. Check our other helpful guide on Osage Orange tree care & management shared on this website. See you in the next post, till then, take care and goodbye.
